
Partner with Rivio
List your studio, reach travellers and locals looking for short term fitness, and grow your footfall. Getting started is a simple, guided journey of eight steps.
Business Management Features
With the Rivio Business App, you can:
Manage all your customers from one place
Track memberships and passes
Monitor attendance with QR check in
View transactions and earnings
Manage pricing and passes
Update business information anytime
Your existing members can also download the Rivio User App to view their memberships, purchase passes, and mark attendance using the QR code available at your studio.
How to Register Your Studio
To partner with Rivio, download the Rivio Business App using the button below. It opens the App Store or Google Play automatically based on your device.
After creating your account with your business name, your name, and mobile number, follow the guided roadmap below.
Your journey in 8 steps
Follow the road from account setup to going live. Here is exactly what each screen asks for.
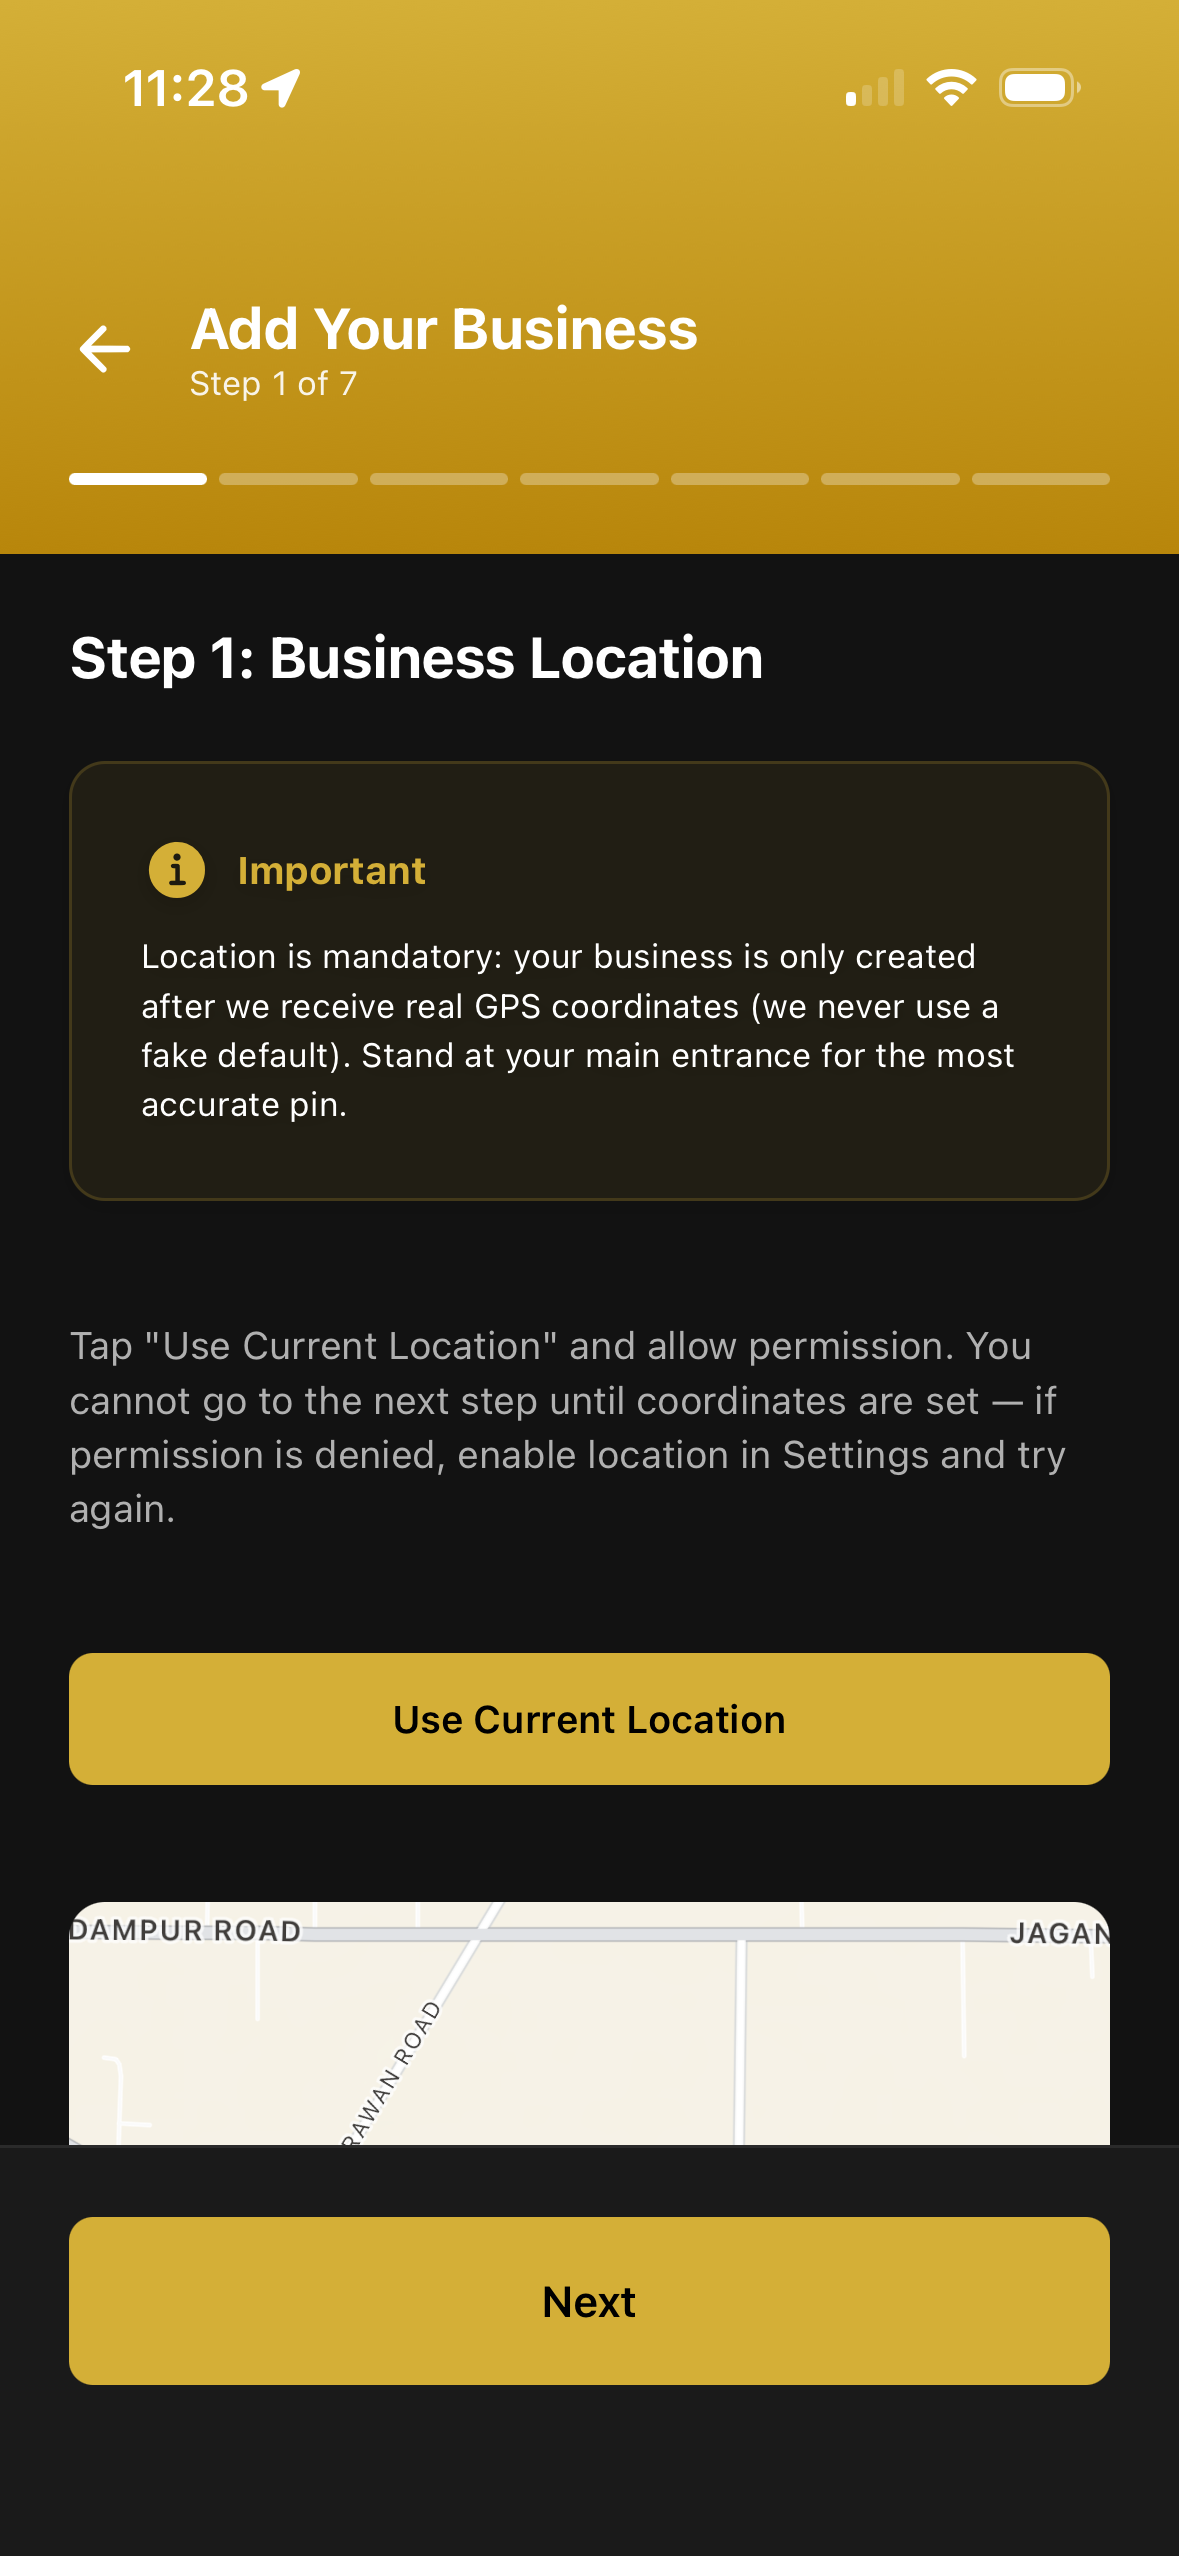
Business Location
Set your studio on the map with a real, verified pin.
- Complete this step while you are physically present at your studio.
- Tap Use Current Location and allow the location permission when prompted.
- Location is mandatory. Your business is created only after real GPS coordinates are received, never a fake default.
- Stand at your main entrance for the most accurate pin.
- You cannot continue until coordinates are set. If permission is denied, enable location in Settings and try again.
Business Details
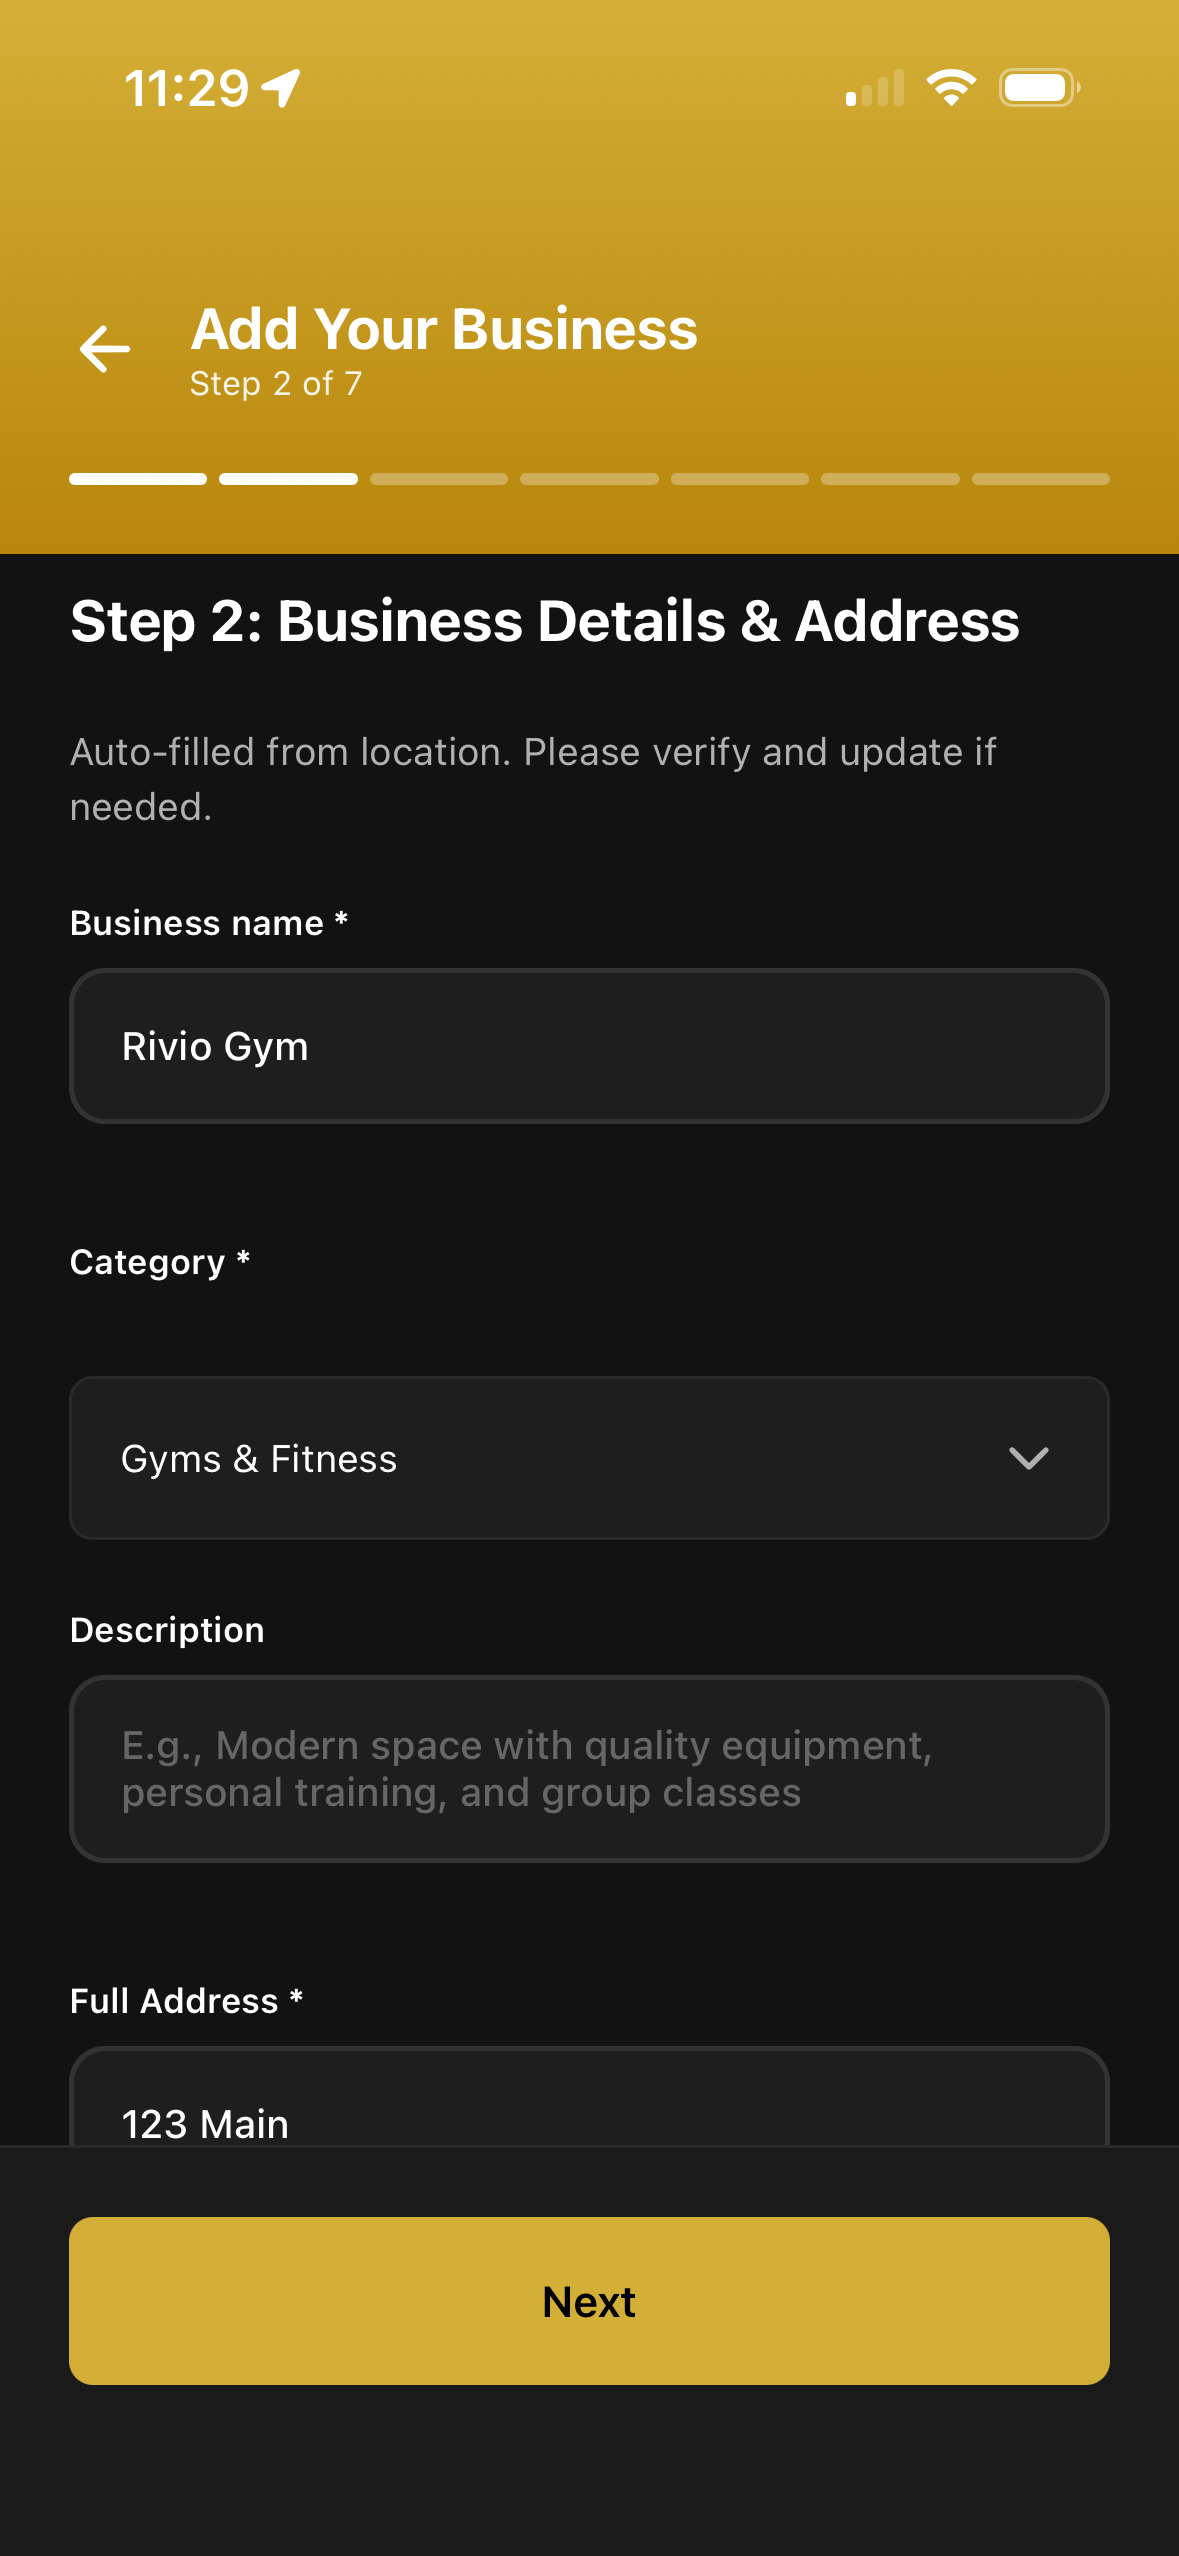
Tell customers who you are and where to find you.
- Enter your studio name exactly as customers should see it.
- Choose your business category: gym, wellness, yoga, dance, swimming, or sports club.
- Write a short description of your studio and what you offer.
- Add your complete address along with a nearby landmark.
- City, State, and PIN code are auto filled from your location and cannot be edited.
Contact Information
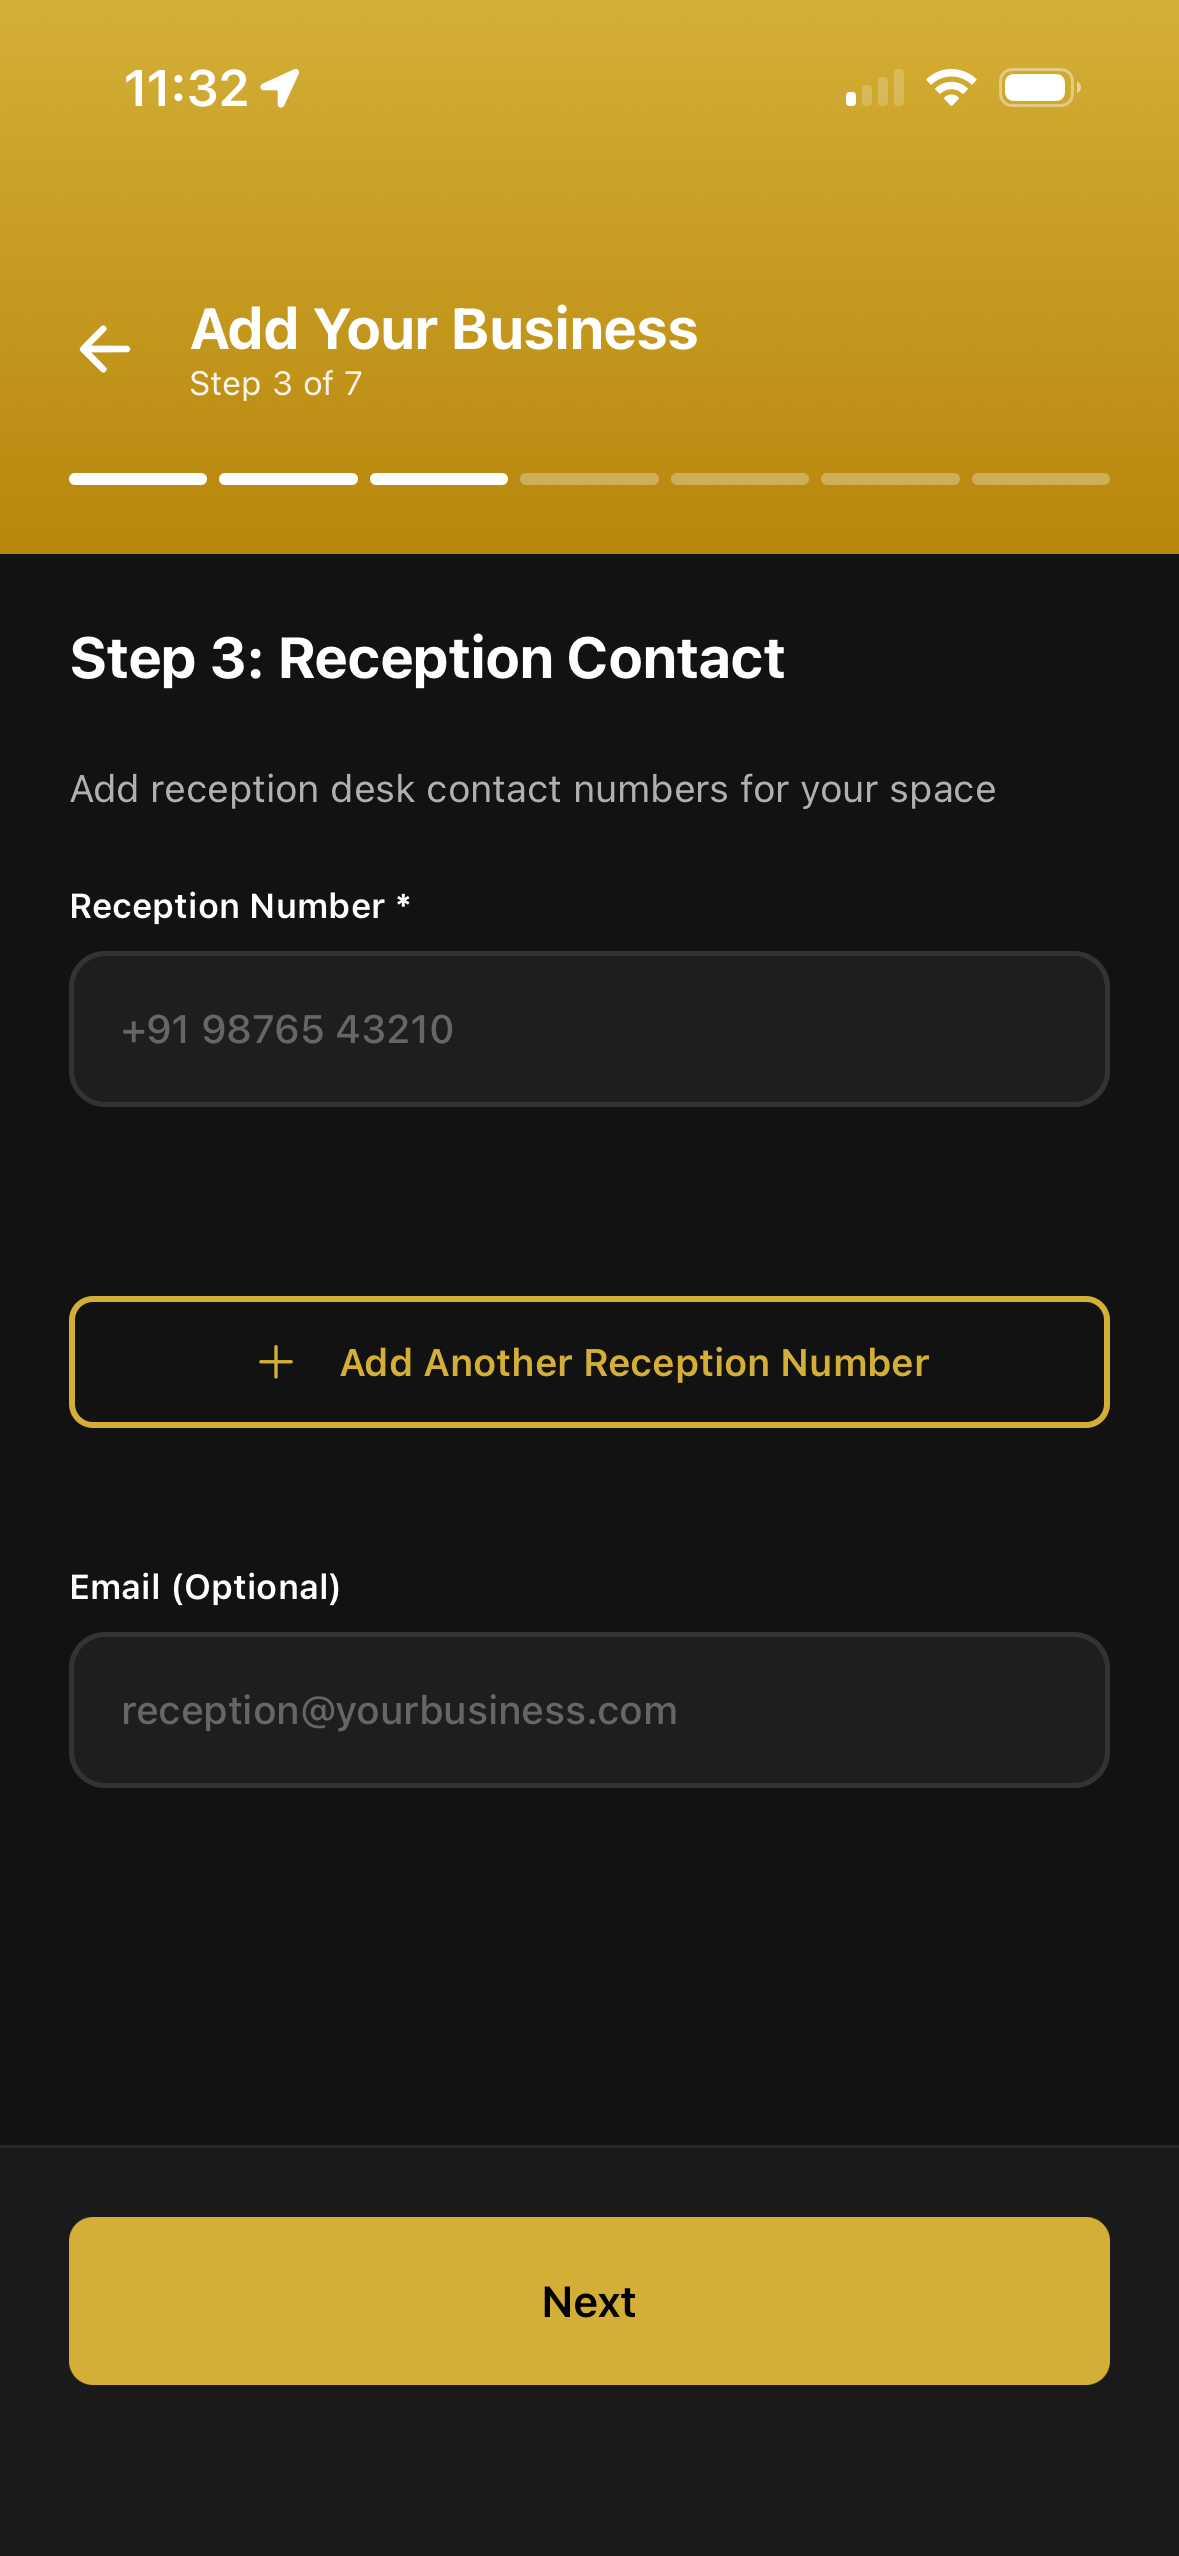
Let members reach your studio directly.
- Add your reception or business contact number.
- Add your business email address.
- These details are visible to customers, so double check for typos.
- Use a number and inbox you actually monitor for bookings and queries.
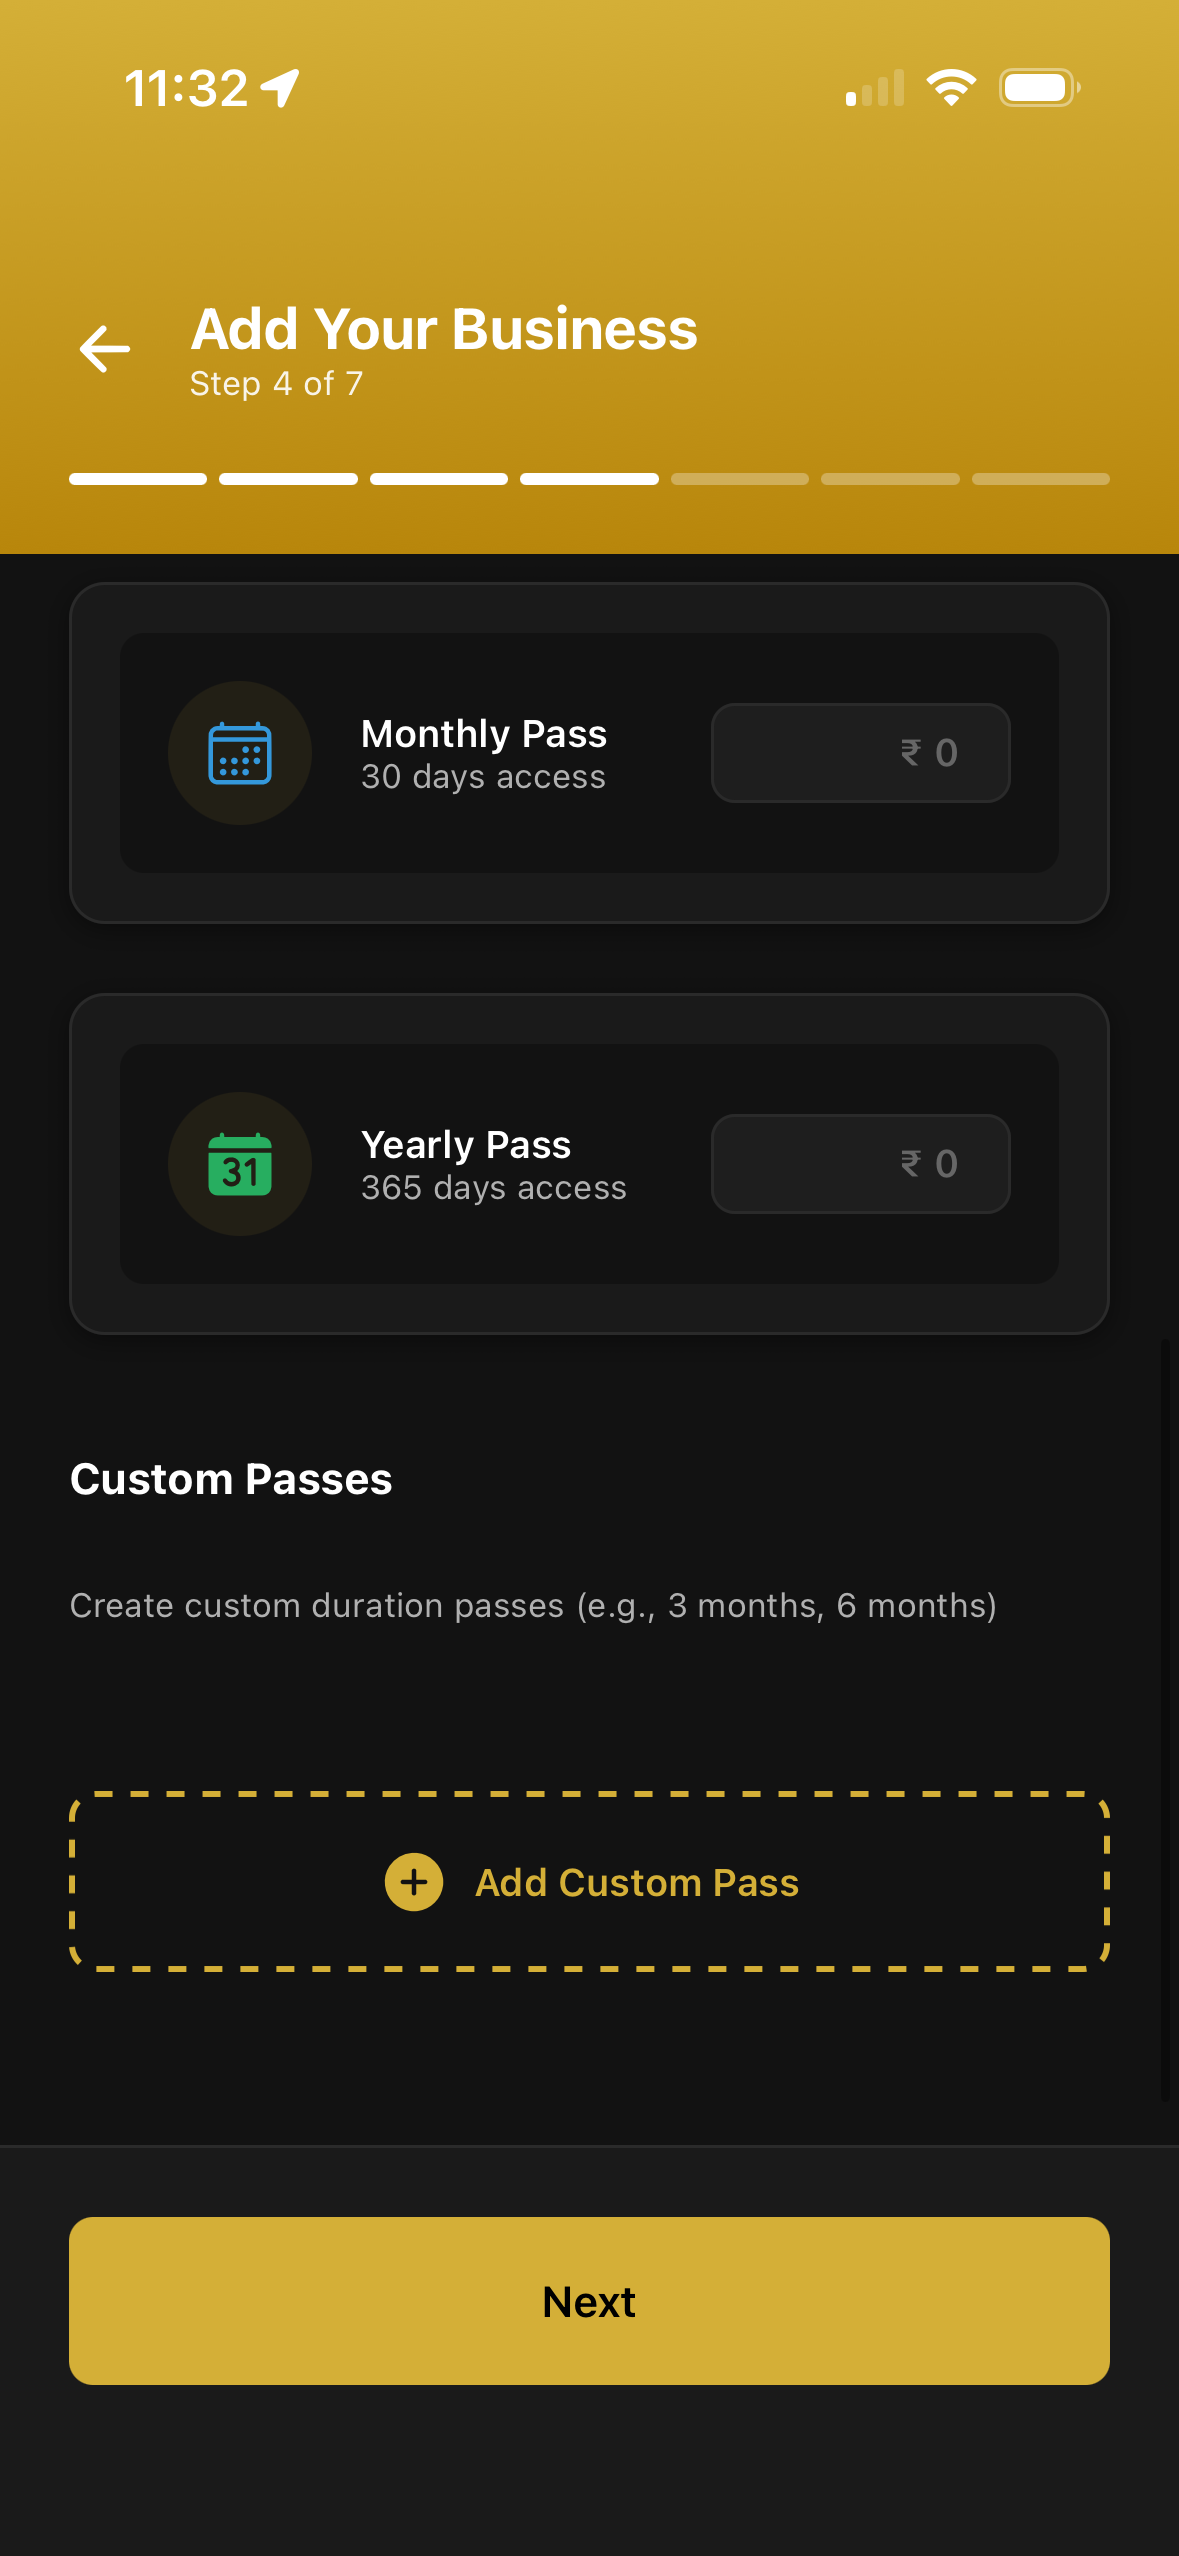
Pricing & Passes
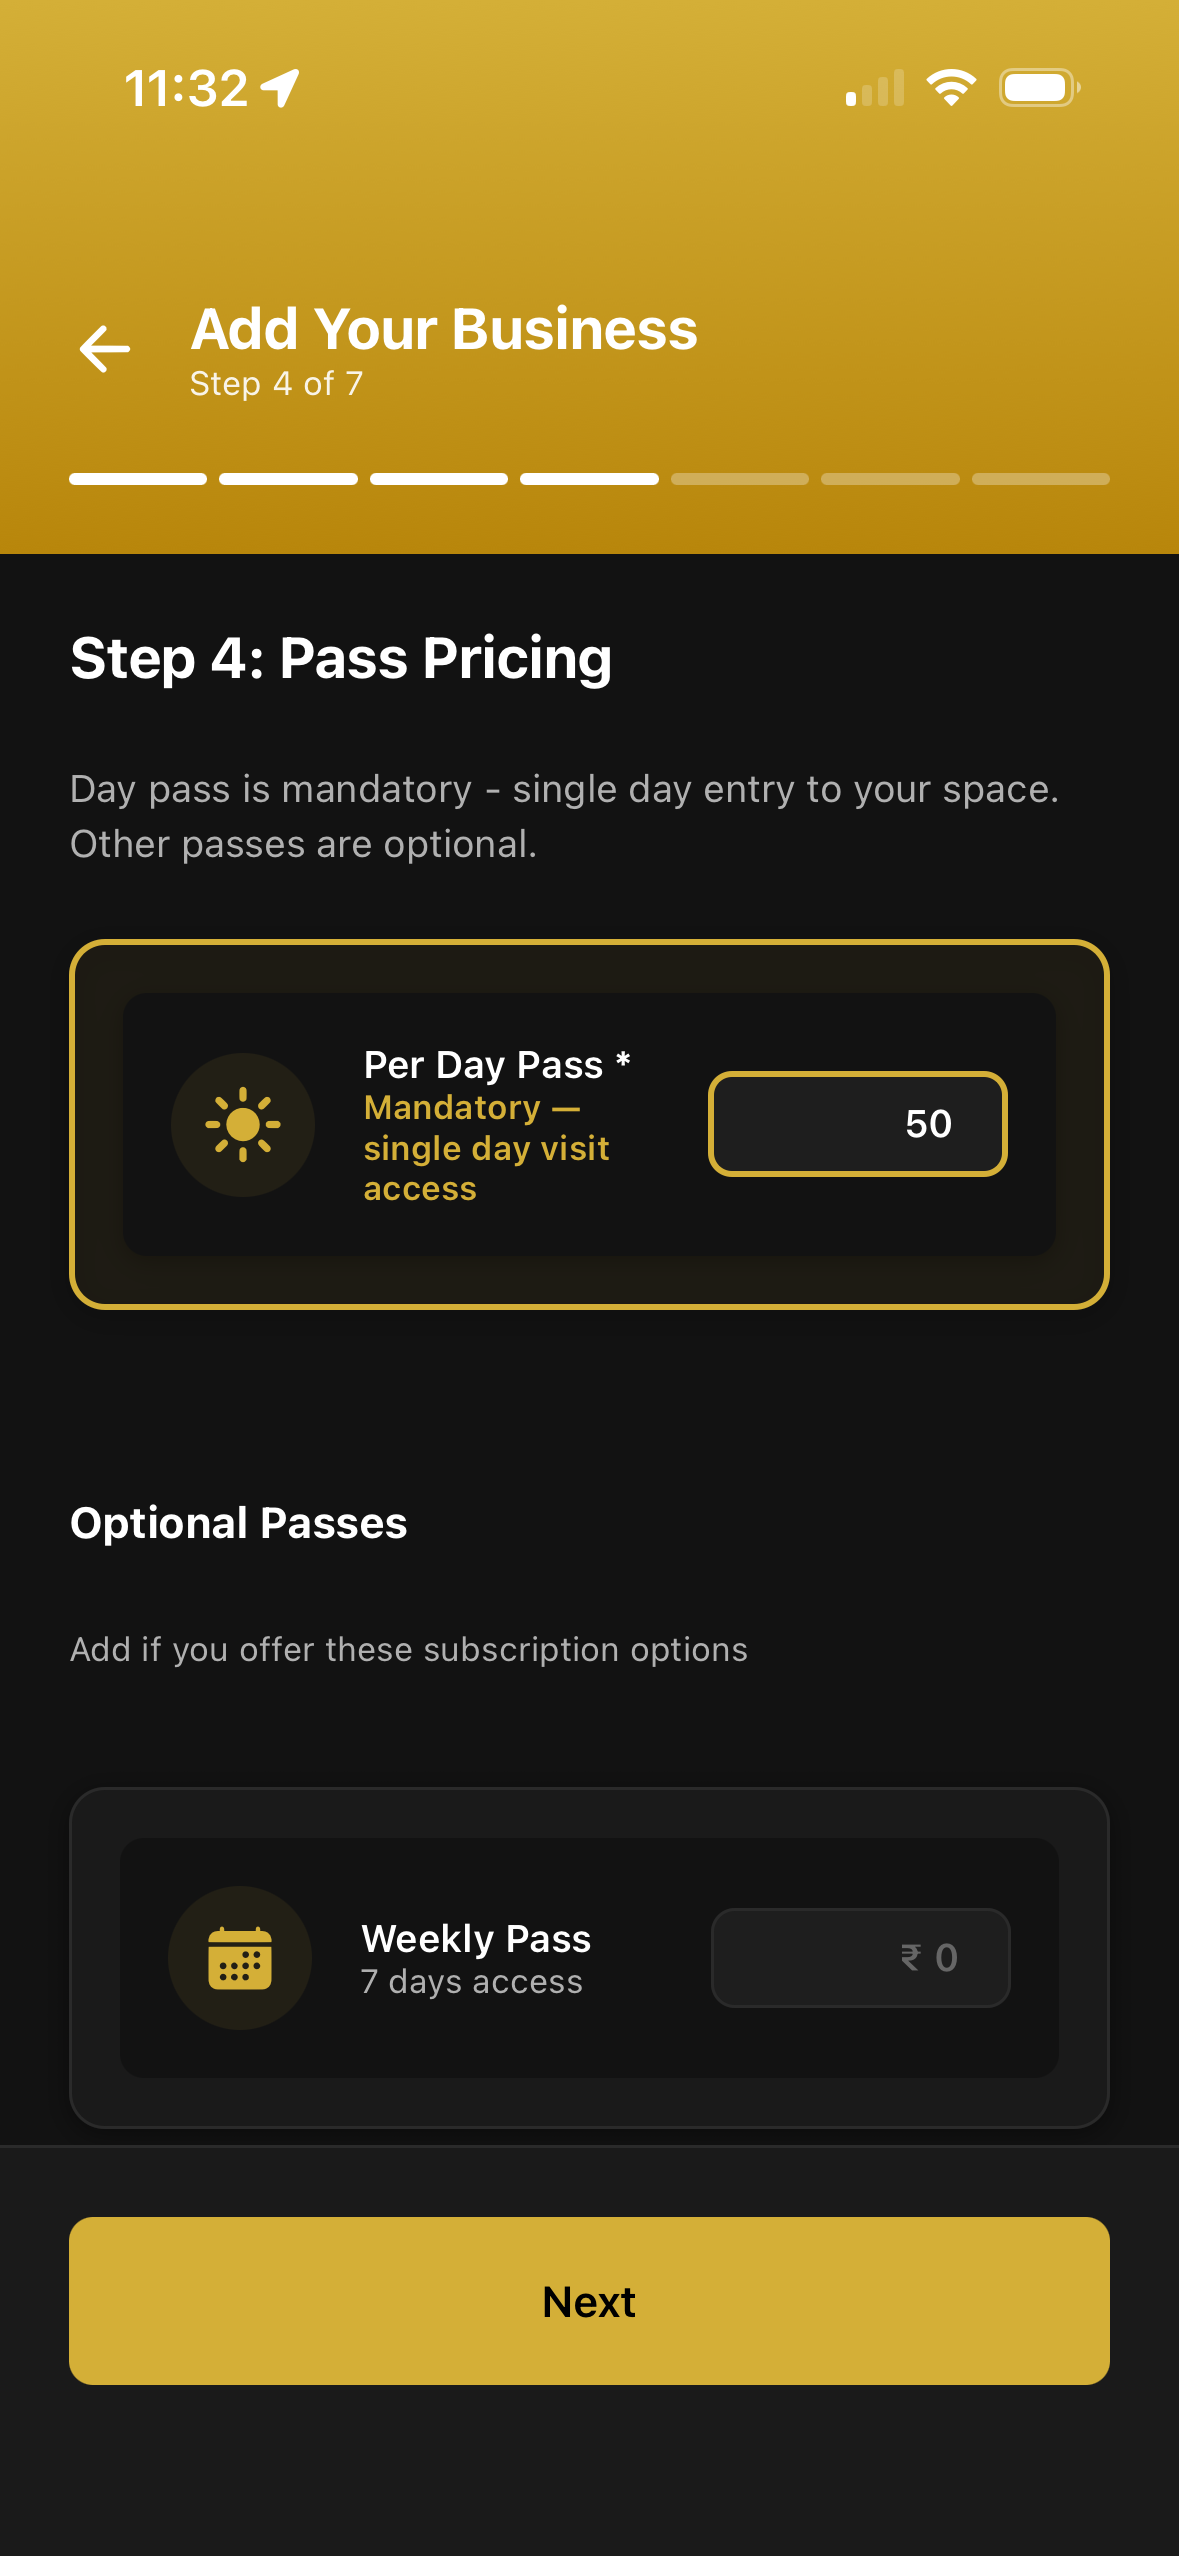
Set what members pay, starting with the core Pay Per Day pass.
- The Pay Per Day pass is mandatory. It is the core of Rivio, so set a fair single day price.
- Add optional passes for regulars: Weekly, Monthly, and Annual (365 days).
- Create custom passes for anything else, such as personal training packages.
- For every custom pass, enter the pass name, number of valid days, and price.
- Review all prices before continuing. This is exactly what members are charged.
Amenities
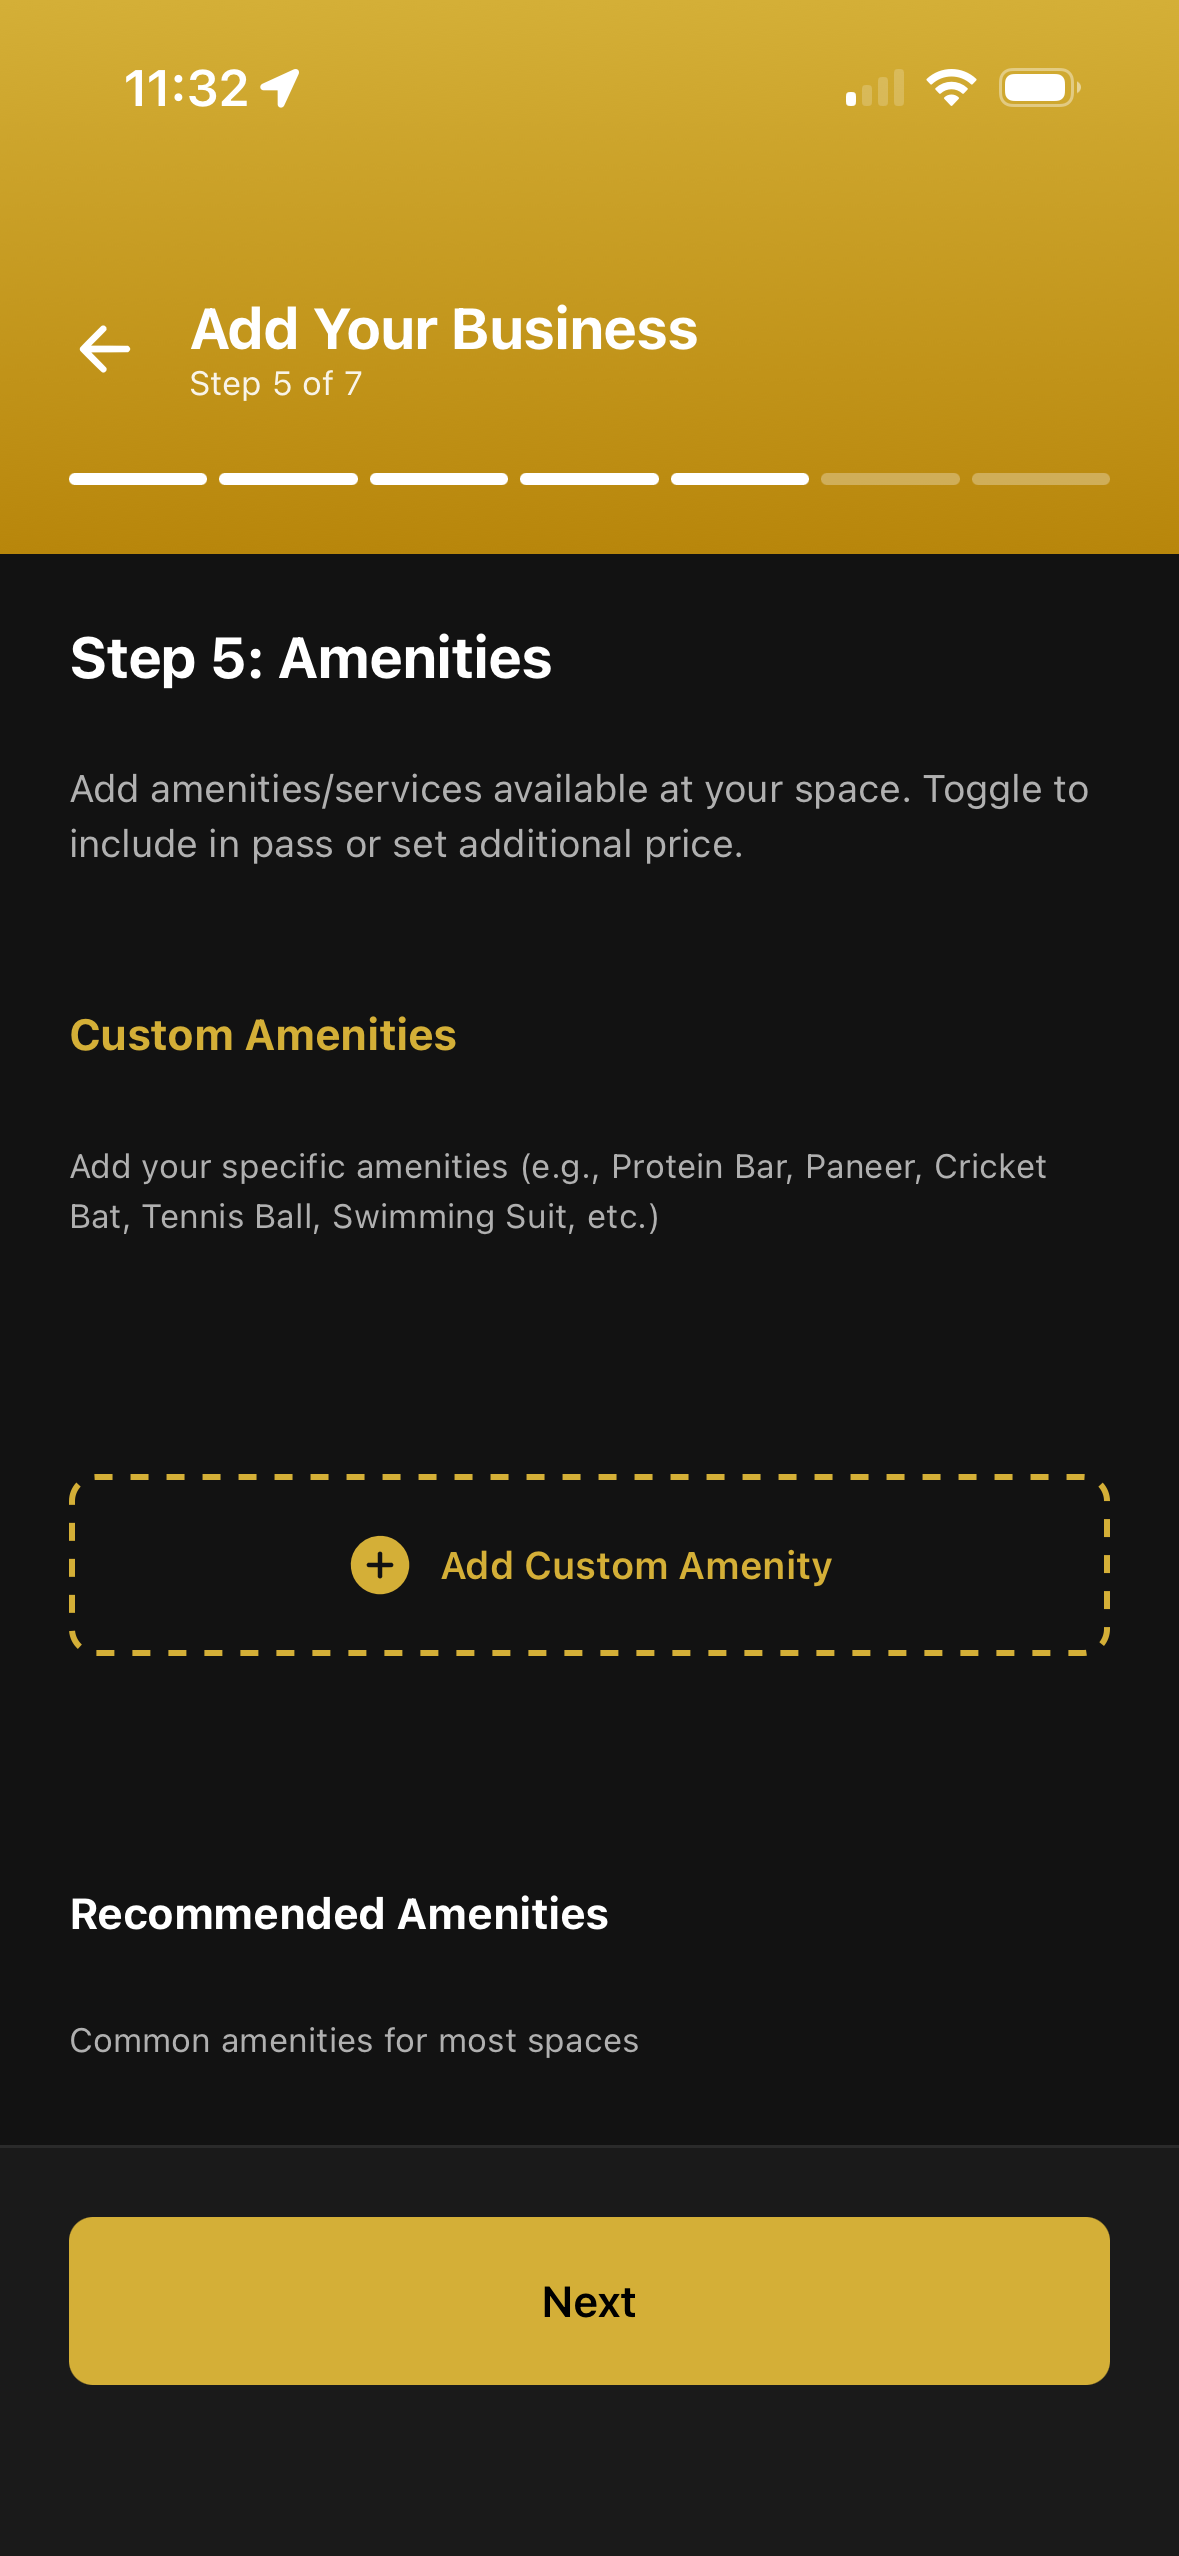
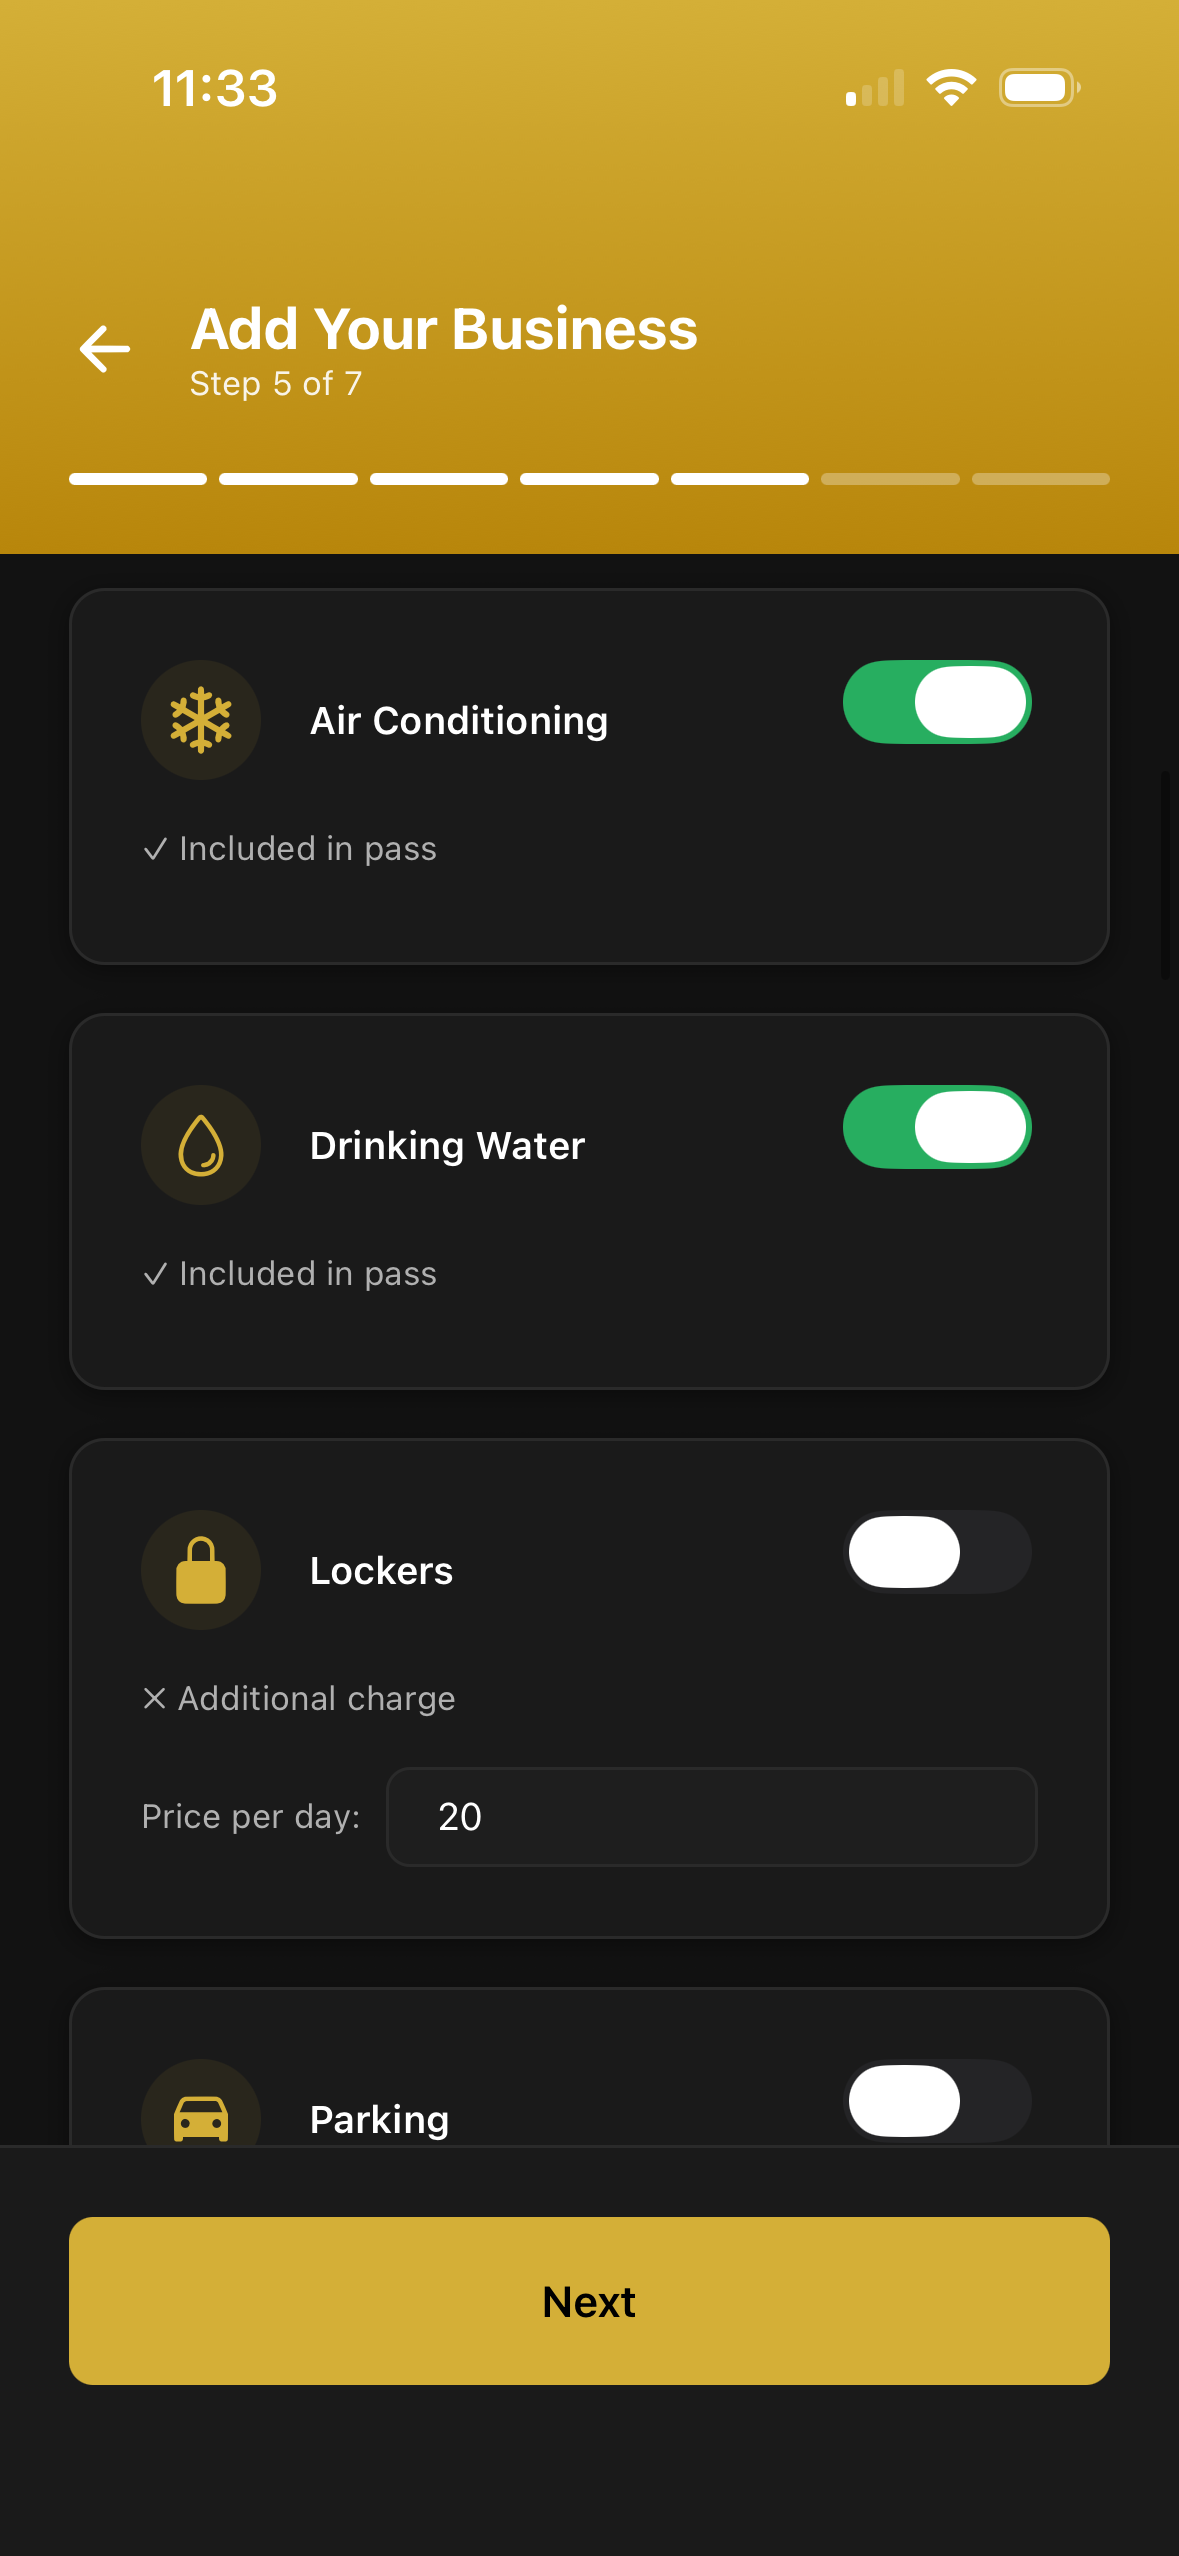
Show what your studio offers, both free and paid.
- Select the free amenities you provide: drinking water, air conditioning, locker facility, parking, washrooms, Wi-Fi, and more.
- Add paid amenities and services such as personal training, protein shakes, a cafe, special fitness programs, or custom services.
- Enter a price for each paid service so members know the cost upfront.
- Accurate amenities build trust and make your profile stand out.
Opening Hours
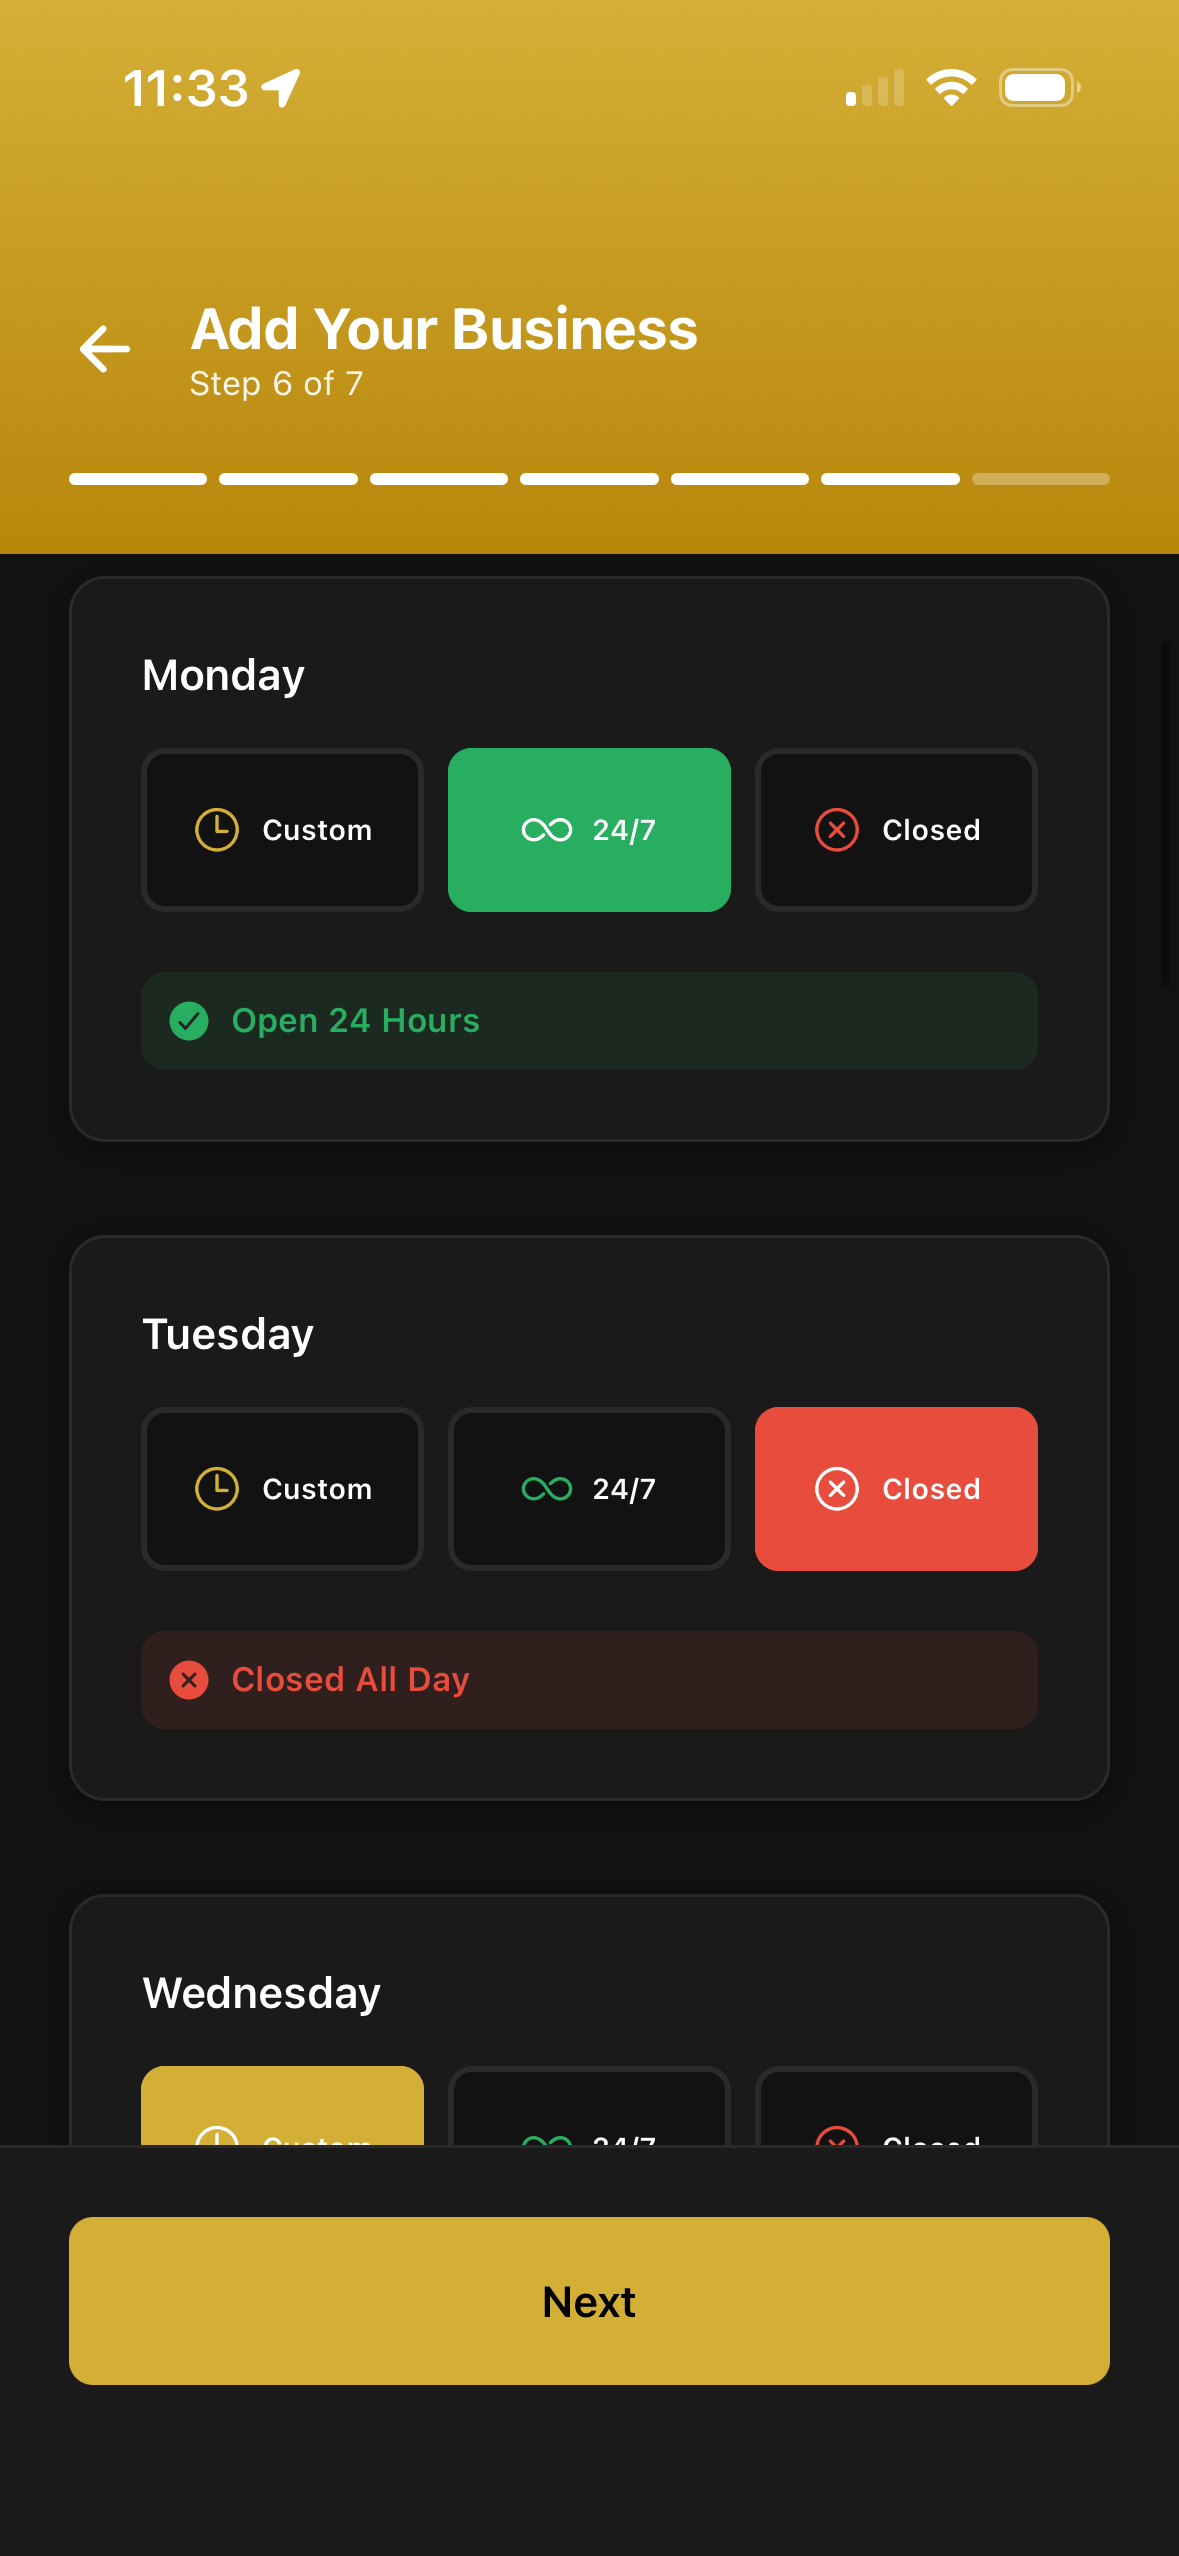
Configure when your studio is open, day by day.
- Set opening hours for each day of the week.
- Add multiple time slots in a single day, for example 5:00 AM to 10:00 AM and again 4:00 PM to 10:00 PM.
- Mark any day your studio is closed as Closed.
- Keep hours current so members never arrive to a closed door.
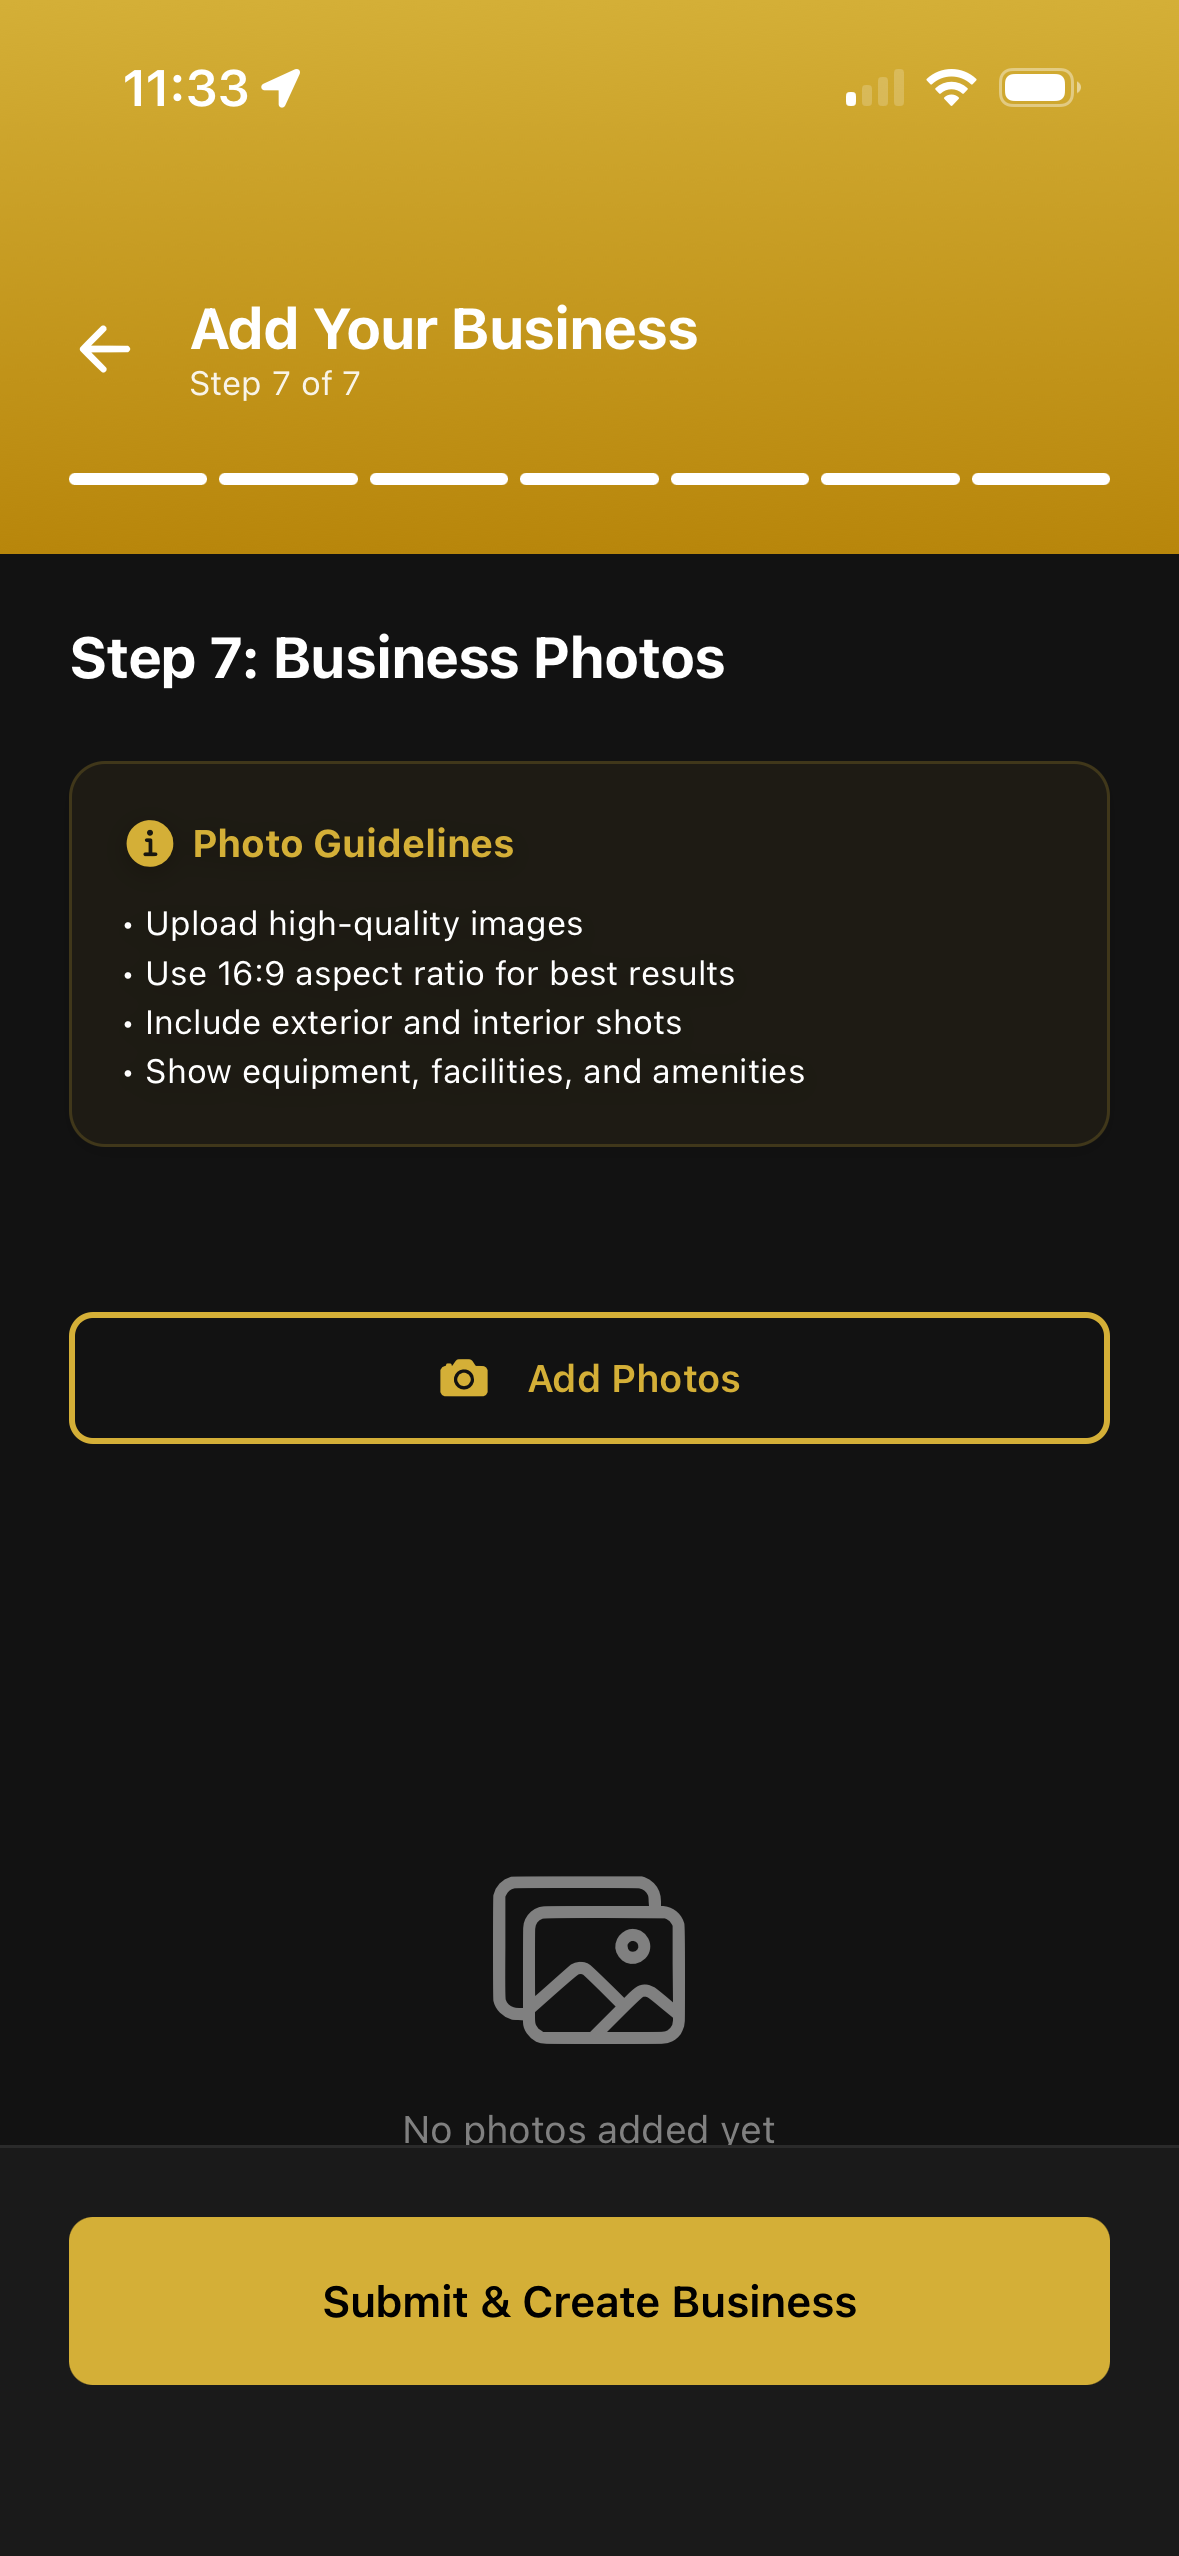
Upload Studio Photos
Great photos help members choose your studio.
- Upload at least five clear, high quality images of your studio.
- Show your key areas: equipment, workout floor, reception, and facilities.
- Use good lighting and real photos. They perform far better than stock images.
- Strong visuals help customers understand your space and improve your profile.
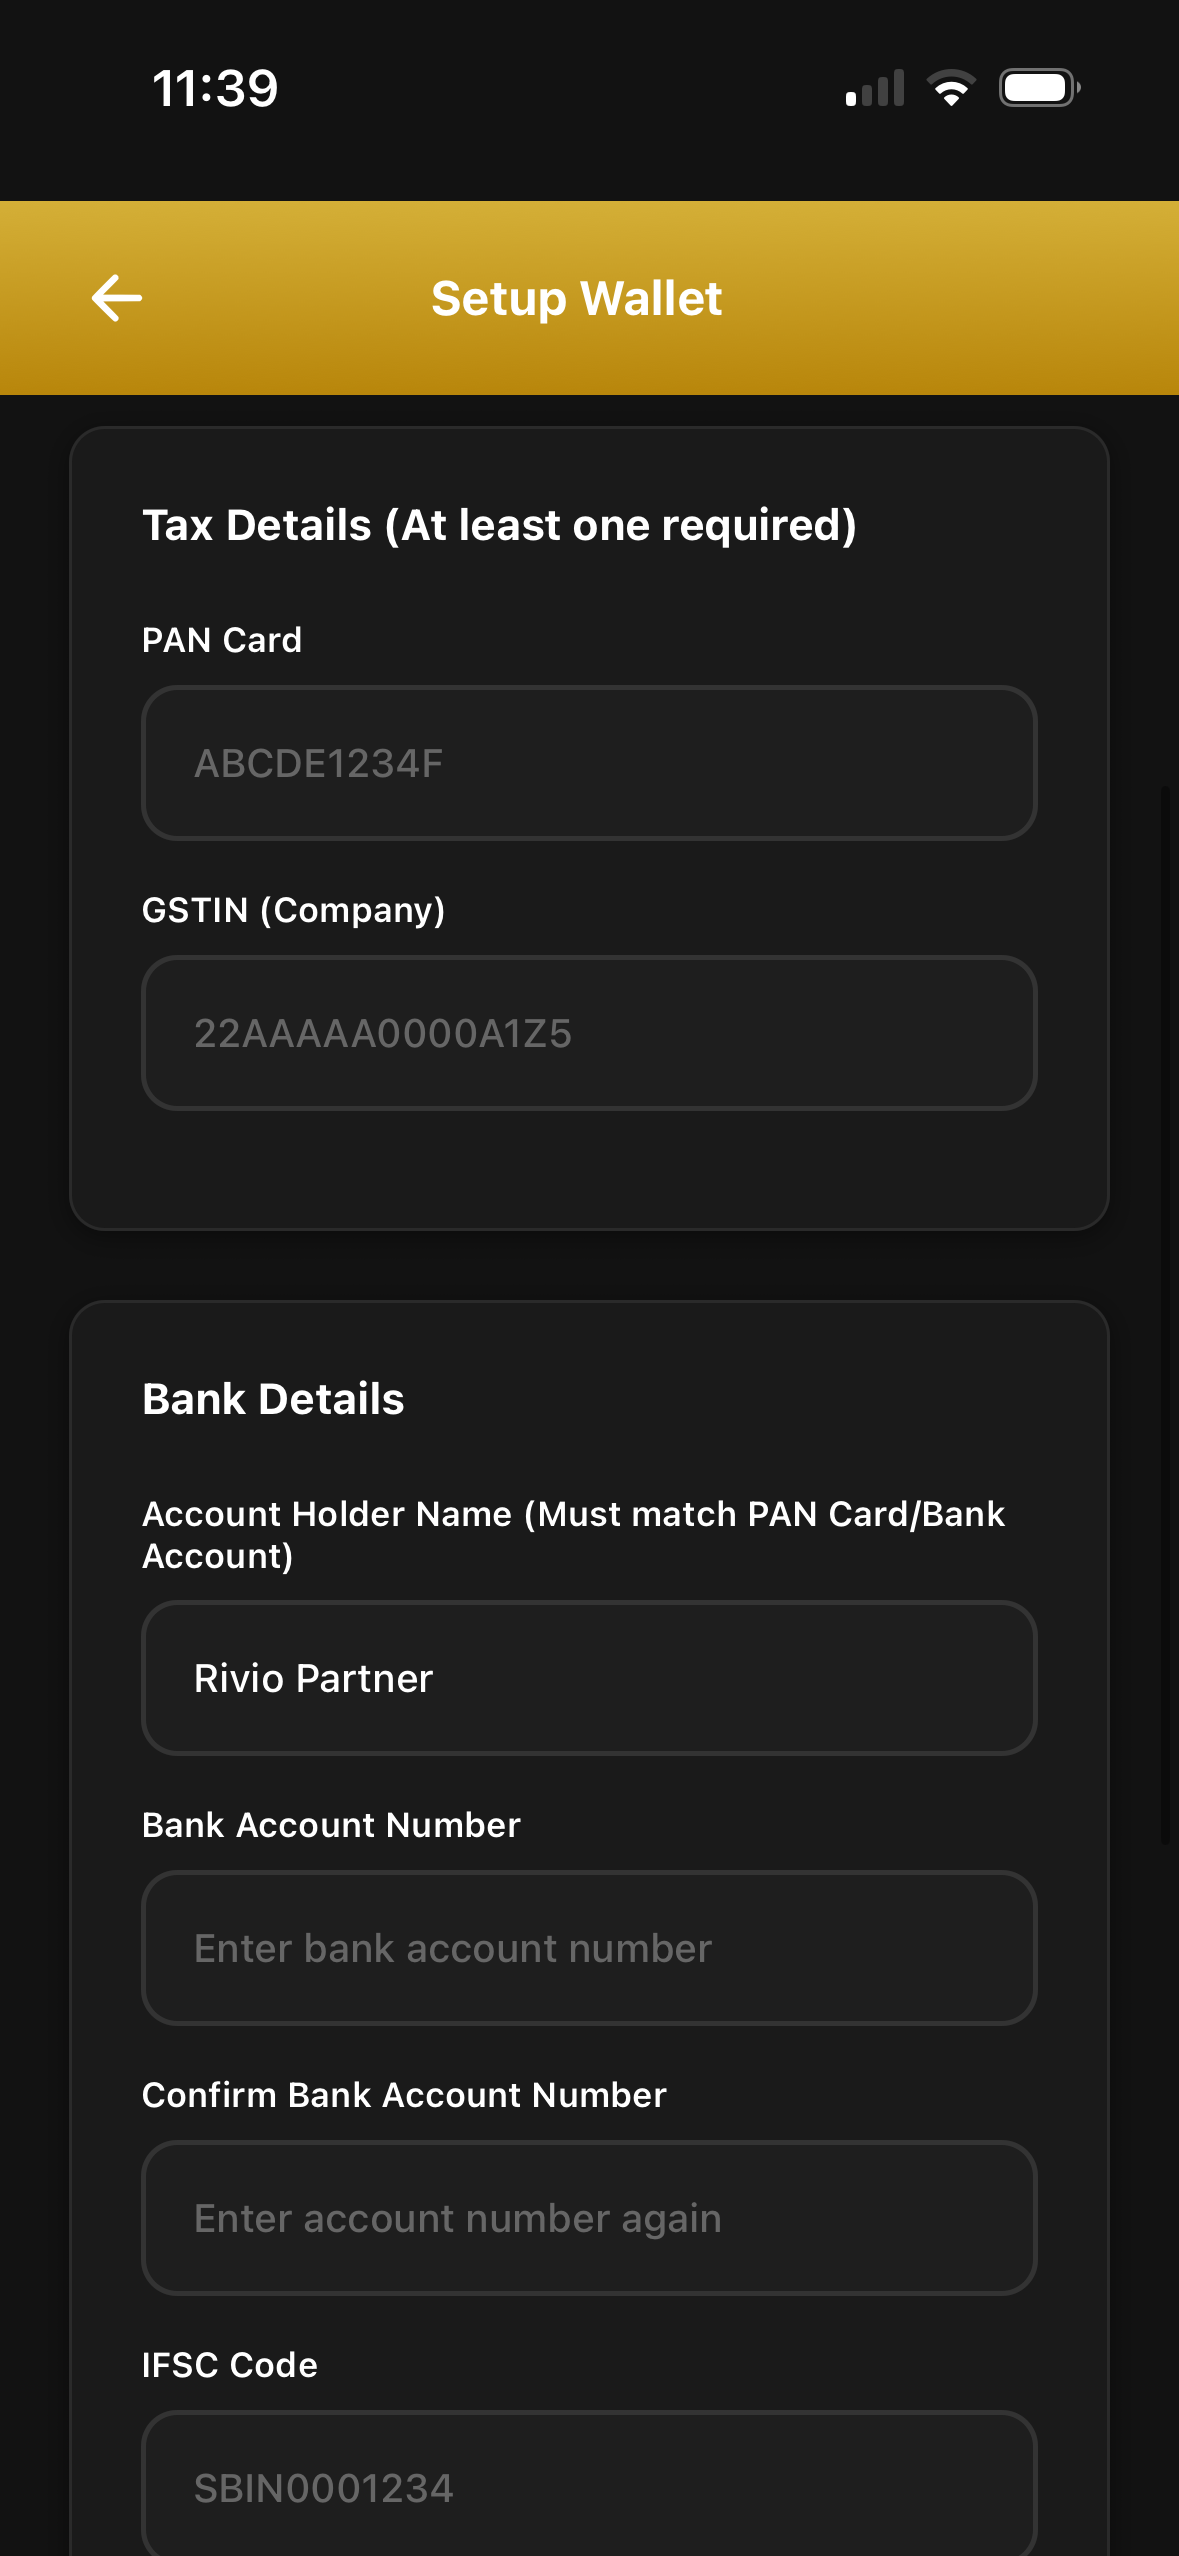
Setup Wallet
Add your tax and bank details so settlements can be paid out.
- Add your PAN card or GSTIN. Both are optional, but they help with tax compliance and smoother payouts.
- Add your bank account details so settlements can be processed to you.
- Your wallet collects earnings from per visit payments and pass purchases.
- Request a settlement anytime to transfer your wallet balance to your bank account.
Your studio is live on Rivio
Once all eight steps are completed, your studio is successfully onboarded and ready to welcome members. You can update any detail anytime from the Business App.
Partnership Model
There are no upfront registration charges for joining Rivio.
Our platform helps fitness businesses increase footfall by connecting them with verified users looking for short term fitness options while travelling or staying in a new city.
Ready to list your studio?
Download the Rivio Business App and complete onboarding at your studio. Questions? Reach our team anytime.
Prefer to explore first? Read the Partner Program details.